Tuesday, January 21, 2014

Chicken Cordon Bleu... SO much easier then you may think

There are so many different ways to prep chicken cordon bleu and so many different kinds of cheese to fill them with; but, this recipe is super simple and basic. I decided after doing some searching on the internet and taking a little from my sister-in-laws recipe that I would just modify and make my own version of all the recipes I have seen.  Try it some time, it is so delicious; I honestly was a little sad when it was gone tonight.

Preheat oven to 350 degrees Fahrenheit

Ingredients
(makes 2 servings, adjust to your needs)

- 2 medium size chicken breast (boneless, skinless)
- 2 slices of ham (I used Market Pantry black forest ham)
- 2 slices of cheese (I used American cheese)
- 3 tbsp of butter, melted (I used salted)
- 3/4 cup of bread crumbs (I used Progresso Italian bread crumbs)


- Toothpicks
- Meat tenderizer
- Plastic wrap


1) Wrap each chicken breast with plastic wrap loosely, (it helps keep the chicken together and not fly all over the place if you use the meat tenderizer to hard). With the meat tenderizer flatten the chicken breast, so that it is wider and longer.


2) Remove the plastic wrap and place one slice of ham and one slice of cheese on each chicken breast.  Starting at one end roll the chicken around the ham and cheese and secure with toothpicks (I used 4 for each chicken breast).


3) Prep a wide, flat bowl with butter and another with bread crumbs.  Roll the chicken in the butter, coating it well, then roll it through the bread crumbs, again coating it well.


4) Place the chicken breast on a baking sheet and place in your preheated oven. Bake for 35 to 45 minutes or until browned and/or the juices of the chicken run clear.


5) Remove from the oven, allow to cool slightly, remove toothpicks and serve.


There you have it; super simple, homemade chicken cordon bleu. One suggestion that I would definitely like to make is to keep track of the amount of toothpicks you place in each chicken breast, so you can make sure you remove them all and not bite into one.   I hope that you give this a try some time, it is definitely a crowd pleaser. 

Enjoy!!


Monday, January 20, 2014

Egg Salad With Lettuce in Place of Bread

I love a good egg salad sandwich, but I do know some people aren't fond of them (like my husband). So, if you are in the majority that likes egg salad this simple recipe (found on allrecipes.com) is a must try.  There are just a few ingredients and with using lettuce in place of bread it makes this sandwich on the healthier side, which I know many of you are looking for healthier options these days. Give it a try.

Ingredients
(makes 2 servings)

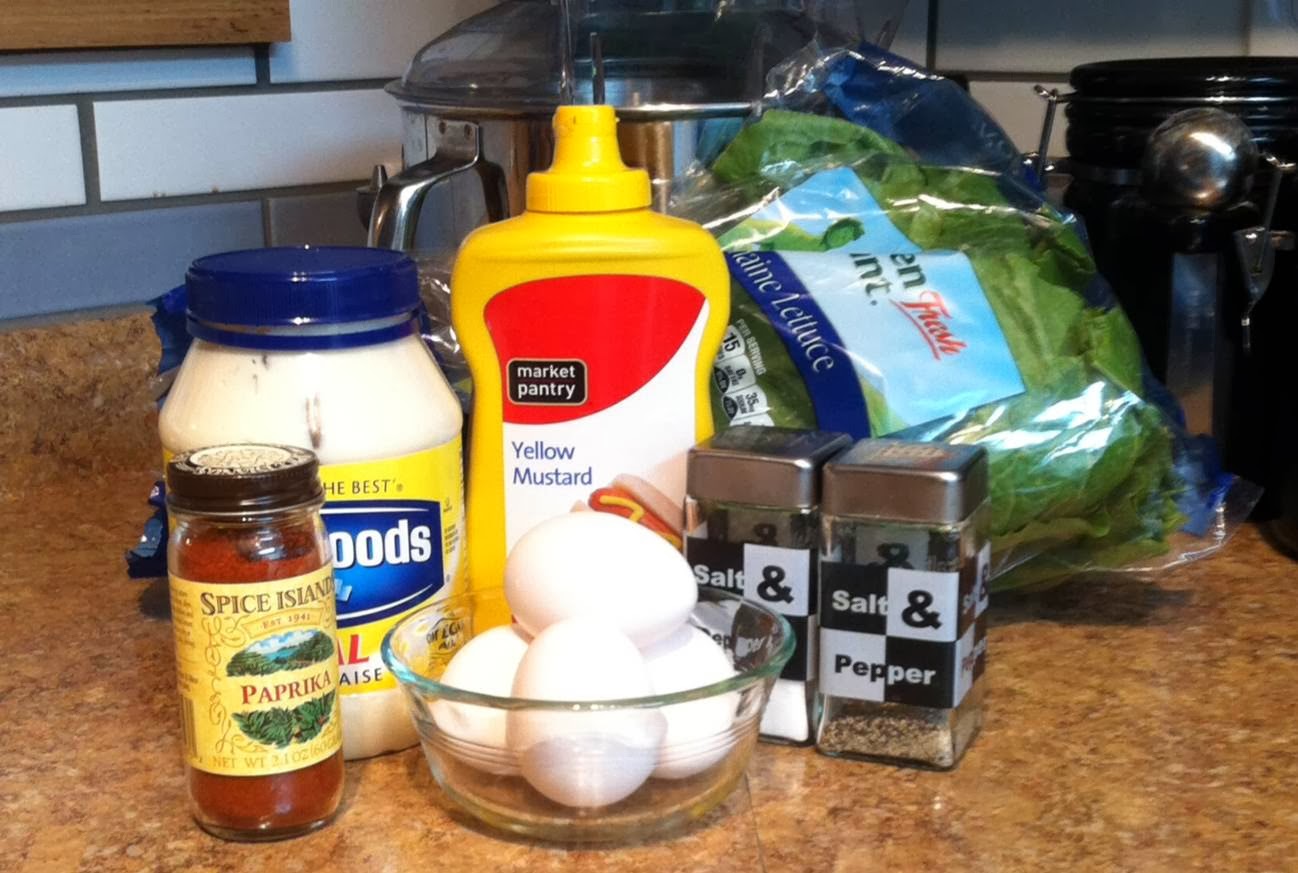
- 4 eggs, hard boiled (I used large eggs)
- 1/4 cup of mayonnaise (it is always Hellmann's in this house)
- 1/2 tsp of yellow mustard
- 1/8 tsp of paprika
- Salt and pepper (to taste)

Optional

- 2 tbsp of green onion, chopped (I did not use these this time)
- Romaine lettuce leaves 


1) Place the eggs in a 4 quart pot with cold water, enough water to cover the eggs.  Bring to a boil, then cover and turn the heat down to low for 1 minute.  After the minute remove pot from heat and leave covered for 12 minutes. After the 12 minutes drain the pot and run cold water over the eggs to cool them, then peel and place in a medium bowl. Your eggs will be a perfect hard boil, with no gray on the yolks. 


2) Chop the eggs (I used 2 butter knives and cut cross ways), add the mayonnaise, and mustard then stir.  Add your paprika and salt and pepper to taste, then stir.


3) Place a spoonful of egg salad on your romaine lettuce leaf and wrap up.


The process is rather simple for a very tasty result.  I hope you give it a try; this recipe for egg salad has become one of my favorites.  Also, experiment a little if you want; maybe you enjoy dill or pickles in your egg salad, try it out.

Enjoy!!


Sunday, January 19, 2014

Amish White Bread... Great Dough for Sauteed Chicken in a Loaf

As I said in yesterday's post, I am going to share the recipe I used for the bread dough of the sauteed chicken in a loaf.  This is a simple, sweet white bread recipe (found on allrecipes.com) that can be used for sandwiches, stuffed loaves, and much more; I know I will be making this recipe again, but this time just for a nice freshly baked loaf of bread.  Give it a try, making bread is easier then you think some times.

Ingredients

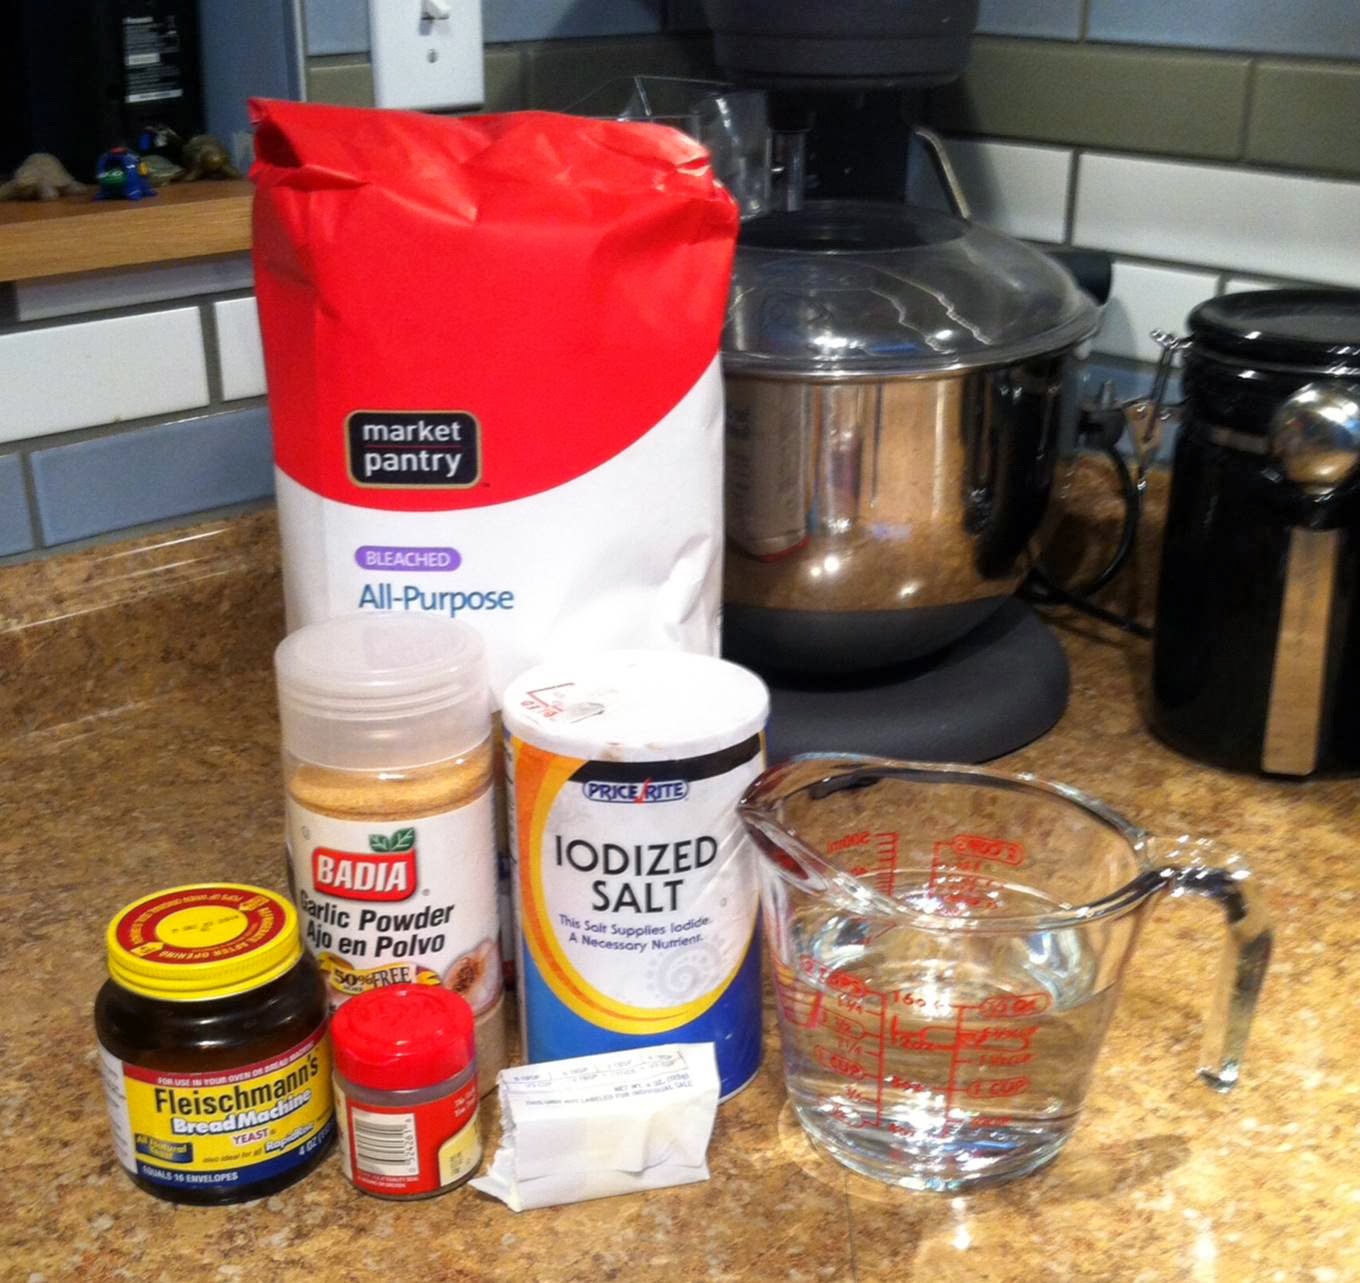
- 2 cups of warm water, 110 degrees Fahrenheit 
- 2/3 cup of sugar
- 1 1/2 tbsp of active dry yeast (that is 1 tbsp and 1 1/2 tsp)
- 1 1/2 tsp of salt
- 1/4 cup of vegetable oil
- 6 cups of flour (I used all-purpose this time, but bread flour always makes for better bread)


1) Place your warm water and vegetable oil in the bottom of the bowl of a stand mixer with a dough hook.  Layer on top of that the flour (5 cups and save the last cup to add during mixing), salt, and sugar; then make a small well and add the yeast.  Mix on low to med speed for about 8 minutes to let the ingredients mix and the dough to knead. Slowly add the rest of the flour until you have a firm dough ball that is not sticky. (If it is to sticky add tbsp of flour at a time or to dry add a tbsp of warm water at a time.)


2) Remove dough from stand mixer bowl and place in a large greased bowl, making sure you flip it so both sides are greased.  Cover with a clean damp cloth for 1 hr or until the dough doubles in size.


3) After the dough has sat for about 1 hour preheat the oven to 350 degrees Fahrenheit.  Punch the dough down and knead for a few minutes; then, split the dough into 2 separate portions and place in greased loaf pans.  Allow the dough to rise for another 30 minutes or until the dough rises above the rim of the pan. Bake for about 30 minutes or until the tops are golden brown.


I don't have a picture of a finished loaf because I used this dough to make my sauteed chicken in a loaf.  This bread is simple and delicious, with a slight sweetness to it. The website that I got the recipe from suggested prepping the dough in a different order then I did, so I will supply you with those directions as well.  I make my bread the way I described above because I am accustom to using a bread machine half the time and that is the order that you place the ingredients in the bowl and it has always turned out well for me.

In a large bowl, dissolve the sugar in warm water, and then stir in yeast. Allow to proof until yeast resembles a creamy foam. Mix salt and oil into the yeast. Mix in flour one cup at a time. Knead dough on a lightly floured surface until smooth. Place in a well oiled bowl, and turn dough to coat. Cover with a damp cloth. Allow to rise until doubled in bulk, about 1 hour. Punch dough down. Knead for a few minutes, and divide in half. Shape into loaves, and place into two well oiled 9x5 inch loaf pans. Allow to rise for 30 minutes, or until dough has risen 1 inch above pans. Bake at 350 degrees F (175 degrees C) for 30 minutes.

Enjoy!!


Saturday, January 18, 2014

Sauteed Chicken in a Loaf

I am sure you are all wondering what sauteed chicken in a loaf is; well, growing up my mom would make ground beef and put it in bread dough with cheese and wrap it up and bake it, we would called it meat in a loaf. This recipe is a spin off of that; and whether you make this with ground beef, chicken, or vegetables I think every household should make this, especially those with small kids. This is one recipe I will never forget from my childhood and I hope my kids won't either.

Preheat oven to 350 degrees Fahrenheit

Ingredients

- 1 to 2 lbs of chicken breasts (depending on how many loaves you make; also you can substitute ground beef if you prefer)
- frozen bread dough or freshly made bread dough (enough for the amount of loaves you would like to make, and today I used fresh bread dough)
- 4 slices of American cheese (2 for each loaf, you can use any type of cheese you prefer)

Optional

- 1/2 of a medium sweet onion, sauteed
- Adobo seasoning for the chicken 


1) Cut the chicken breasts into small cubes and place in a heated large sautee pan with 2 tsp of oil, sprinkle with Adobo seasoning, cook all the way through and then remove from heat. While your chicken is cooking, chop your onion and sautee.


2) Once the chicken and onion are finished divide your portions depending on your number of loaves. Stretch your dough over the edges of a loaf pan and gently push down the middle of the dough to form a well. Place your chicken and onions inside the well and top with cheese. (I used shredded pepper Jack and 1 slice of American cheese for the loaf pictured))


3) Wrap your dough around the filling and pinch the ends, making sure there is no exposed filling. 


4) Place in your preheated oven and bake for 30 minutes or until the dough is golden brown. Remove from oven, allow to cool slightly, slice and serve.


There you have it. This is a simple recipe and can be altered very easily to your own preference of meat, vegetables, cheeses, and any thing else you can think of. To me this is comfort food that reminds me of great childhood memories, and so delicious. Your friends will ask you for the recipe, guaranteed.
 Tomorrow I will share the recipe for the bread dough I used.


Enjoy!!


Friday, January 17, 2014

Ground Beef Queso... a Must For Any Party

This recipe for ground beef queso is a staple in our home and normally my go to when asked to bring some thing to a party.  One day I was making some ground beef for tacos, when I saw a jar of queso in the pantry; I then had the idea to combine the two and that is how this amazing side dish started in our home.  Some of you may have already had the chance to try it and now you will know how to make it any time you want.

Ingredients

- 1 lb of ground beef (you can use ground chicken if you prefer, that is what we use the majority of the time)
- 1 15 oz jar of salsa con queso
- 1/4 to 1/2 of cup of salsa (any salsa of your choice)
- 1/4 cup of taco seasoning
- 3/4 cup of water


1) Brown and drain your ground beef or ground chicken, place back in your pan and add 3/4 cup of water and 1/4 cup of taco seasoning (per 1 lb of meat).  Stir and simmer until most of the water is absorbed.


2) While you are browning your meat place your salsa con queso and salsa in small 2 quart crockpot and place on low. After, your meat is done add it to the crockpot with the queso and stir. 


3) Once all your ingredients are combined you are ready to serve.  Serve with tortilla chips.


We love this recipe and it normally goes pretty quick in our home; and also from experience if you bring this to a party your dish will come home completely empty, guaranteed.  I hope you get the chance to try it and please let me know what you think.

Enjoy!! 

Thursday, January 16, 2014

Garlic and Thyme Bread... Perfect for your Italian dinners

I was in the mood to make bread today; and, so I did just that.  I searched the internet for fun new recipe, some thing with lots of flavor that I haven't tried, when I stumbled upon this recipe for a garlic thyme bread (on about.com).  One of the many reasons this recipe stuck out to me is that this recipe called for all-purpose flour, which I normally use bread flour and am currently out of it.  Just the smell of this bread baking is enough to let you know it is so delicious; I hope you give it a try, I know we did tonight with spaghetti, it was a perfect combination.

Ingredients

- 2 1/4 cup of warm water (95 to 110 degrees Fahrenheit)
- 2 1/4 tsp of active dry yeast
- 1 tsp of salt
- 3 tbsp of soft butter, divided (1 tbsp for dough and 2 tbsp for the top just before baking)
- 1 tbsp of thyme
- 1 tsp of garlic powder
- 6 cups of all-purpose flour 


1) Add the flour, garlic powder, thyme, 1 tbsp of butter, and yeast to the bowl of a stand mixer (make sure you are using a dough hook with the mixer). Turn the mixer on low and let those ingredients mix slightly and then add the warm water a little at a time.  


2) Turn the mixer speed up to low to medium speed after adding the water and allow mixer to knead the dough for 5 to 8 minutes or until a nice dough ball has formed. Note: if your dough ball is to sticky add a tbsp of flour at a time, with the mixer running, until the dough is not sticky.  Same goes for if it is to dry, in this situation at a tbsp of warm water at a time until the dough is no longer dry.


3) After you have let your dough knead in the mixer, remove it and place it in a large greased bowl, making sure to flip it so that both sides have been lightly greased. Cover with a clean cloth and set in a warm area for 1 hour.


4) After allowing the dough to rise for 1 hour remove the cloth and punch the dough down. (Punching the dough down is pretty much what it sounds like, take a few fingers or your fist and poke the dough down in the middle)


5) After punching the dough down, remove from the bowl and place on a floured surface. Knead for about 5 minutes, then divide the dough into two equal portions and form two15 inch long loaves.  Cover the dough again with a clean cloth and let rise for about 45 minutes. (I have both loaves on the same baking pan for the picture but I separated them after to two different pans to rise)


6) After the loaves have sat for 45 minutes they will have almost doubled in size.  At this point preheat your oven to 350 degrees Fahrenheit, then melt the remaining 2 tbsp of butter.  Use a sharp knife and cut a slice in the top of each loaf and pour the butter into the slice.  Place your loaves in the oven and bake for about 45 minutes.


7) After about 45 minutes or until the bread sounds hollow when tapped on the tops your bread is done baking.  Remove from the oven and allow to cool on a rack and then slice and serve.


There you have it, delicious and flavorful garlic and thyme bread.  To be honest I was a little skeptical at first about how this bread might turn out, with the garlic powder and thyme, but I absolutely love it and can't wait to make a grilled hot ham and cheese with it tomorrow.  
One thing that I do want to note is that you should make sure that the bread is cooled before slicing, as it will slice better and not tear like it would if it were still hot.
Please try this for your selves and if you are around the area I have a second loaf up for grabs if any one would like to be a tester for me.

Enjoy!!

Wednesday, January 15, 2014

Super Easy Peanut Butter Fudge... Irresistible

I haven't posted a sweet recipe in a few days and have really been into peanut butter lately; so, what is more appropriate for today then peanut butter fudge.  This recipe (found on allrecipes.com) is super simple to follow and is SO good.  I will warn you ahead of time that it is very addicting; it is very delicious and smooth you will definitely want to keep going back for more.  I would recommend that you have plenty of people to share this with when you try out the recipe.

Ingredients

- 1/2 cup (1 stick) of butter (I used salted)
- 2 1/4 cups of brown sugar
- 1/2 cup of milk (I used whole milk)
- 3/4 cup of peanut butter (I used JIF creamy peanut butter, that is normally the only brand we have in our house)
- 1 tsp of vanilla extract
- 3 1/2 cups of confectioners' sugar


1) Melt your butter in a large skillet over medium heat on the stove. (I cut my butter into 1 tbsp chunks before adding to the pan, it helps the butter to melt more evenly and not burn from being on to long)


2) Once the butter is melted, add the brown sugar and milk.  Stir together and bring to a boil; boiling for 2 minutes, stir frequently.


3) After you have boiled your mixture for 2 minutes, remove from the heat and add the peanut butter and vanilla extract.  Stir until the peanut butter is melted and all ingredients are well combined.


4) Pour your mixture over the confectioners' sugar in a large mixing bowl.  Beat all ingredients together until smooth.


5) Transfer your fudge to an 8" x 8"  glass dish, smooth out evenly and place in refrigerator to chill. (I lined the glass dish with wax paper before adding the fudge, it makes it easier to remove and cut after being chilled)  


6) After you have chilled your fudge and it is firm to the touch you can cut it into small squares.  Just pull the edges of the wax paper up from the corners and place a cutting board, and cut.


There you have it, super simple and super amazing peanut butter fudge.  One suggestion that I do have is to measure out all of your ingredients before you start, because once you start to melt your butter and add the other ingredients you do not have much time in between to prep the next ingredient.  Please give it a try and let me know what you think.

Enjoy!!